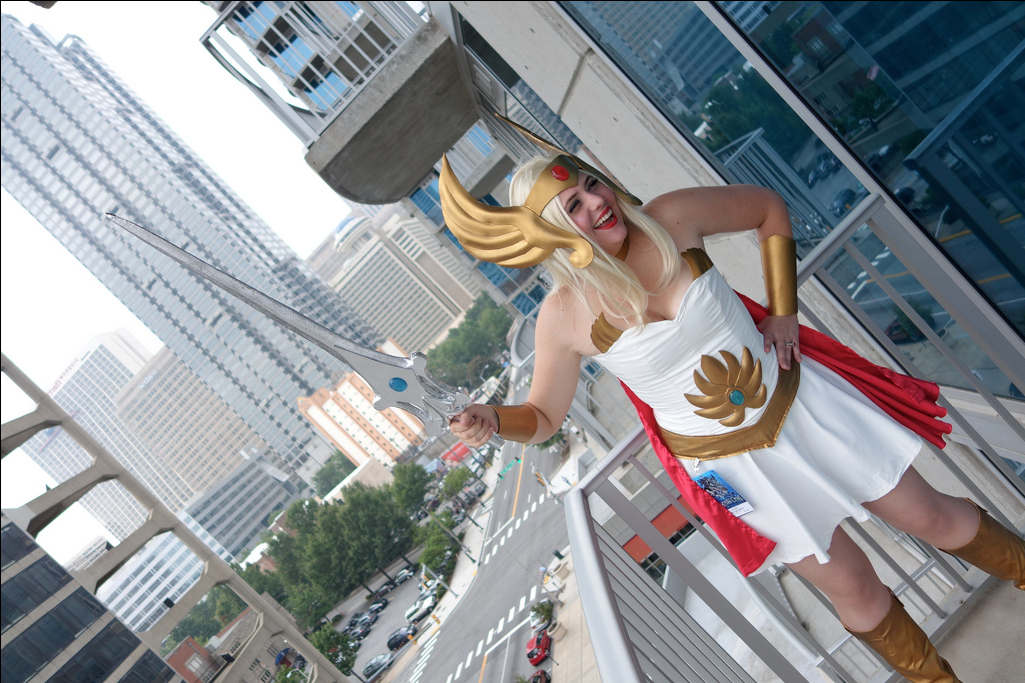
Now that the craziness of DragonCon is over, and I have a few minutes to breathe, I wanted to share a little bit about my She-Ra costume with you all.
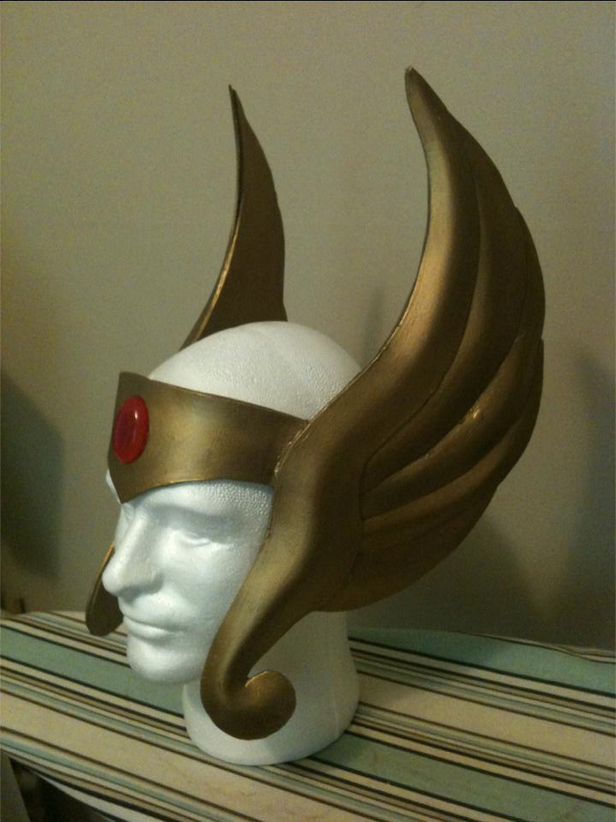
She-ra was a big step forward for me in cosplay/costuming standards. This one the first time I really did anything with craft foam, sculpting or otherwise (not counting, of course, my Medusa belt buckle from 2 years ago which was fabric covered foam). I did some crazy research and learned about molding EVA craft foam with heat. I used craft foam for the bracers (aka Wristie-cuffs), the head piece, and the fern on the front.
*note: all process photos I took this year were quick snap shots with my phone, usually at night time, so the color isn’t great
I started with hand drawing the headpiece shape, paying close attention to the proportion of the head piece to her face. I then cut a solid back piece, then the individual fern pieces about 1/8 inch larger than I drew so I hand some room when I heated it up and molded it to give it the 3-d shape. I kinda eyed the shape I wanted and pinched the warm foam until it cooled. Then I glued it all together with E-6000. I used the same process for the front fern, except I scaled it in illustrator since the shapes are a little more complex.
I noticed a lot of people online secured the headpiece with clips. This didn’t seem like it would be stable enough for me and a wig, so I used a bra back and some elastic to hold it on my head. Some crafty engineering on my part. The jewels are resin, and I painted the back with nail polish vs dye in the resin (for the sword resin jewels I actually used some leftover blue Duplicolor Metal cast from painting my Captain America shield, and that game me a more consistent color on the back).
You have to be careful with EVA foam, because it can melt with the wrong products attached. Getting the gold patina involved a series of PVA (Elmber’s Glue) Mop n’ Glow and Rub n’ Buff.
It took forever to find the right fabric for this costume, but I ended up find a poly-blend stretch fabric on discount that had a lovely almost waxed surface that reminded me a bit of leather. It had lovely drape, and that was used on the skirt and the corset cover. The skirt is a 3/4 circle skirt, drafted myself with some residual math knowledge and the internet. If I were to do this again, I would do the corset top differently to eliminate some of the wrinkling when pulled tight. Knit is a fickle mistress. But the corset base is cotton duck fabric with a 100% cotton lining to absorb sweat and is spiral steel boned.. The gold trim is white pleather covered in Rub n Buff. Next time I think I’d use real leather for this or Heat Vinyl transfers since for some reason the Rub n Buff didn’t want to stick. The fern body piece and “boob wings” are glued directly to the corset.
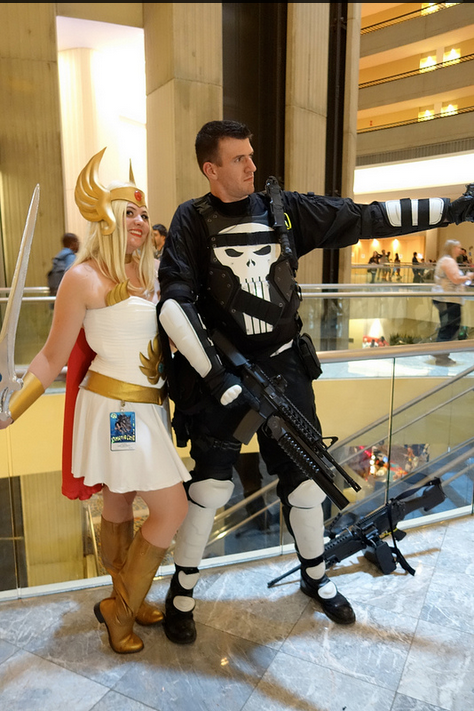
You can’t see them in the first picture, but the boots are also covered in Rub n Buff, but they did not have the flaking issue the pleater did. Go Figure.
If anyone is interested in learning more about the costume or would like some tutorials on any specific parts, just let me know in the comments section!