Straight up, everyone: Sequin dresses are a bitch to make. My biggest piece of advice: Don’t do it! Oh, you’re going to do it anyway? Basically this is going to be like a sex talk: If you’re going to do it, at least have the knowledge to do it safely and so you know what to expect.
Working with sequins in general are a total pain, but GLAMOUR!! Now, I knew it wouldn’t be easy. I can be blindly confident about taking on projects, it happens all the time. I tend to over-research to the point of WebMD psychosis levels.
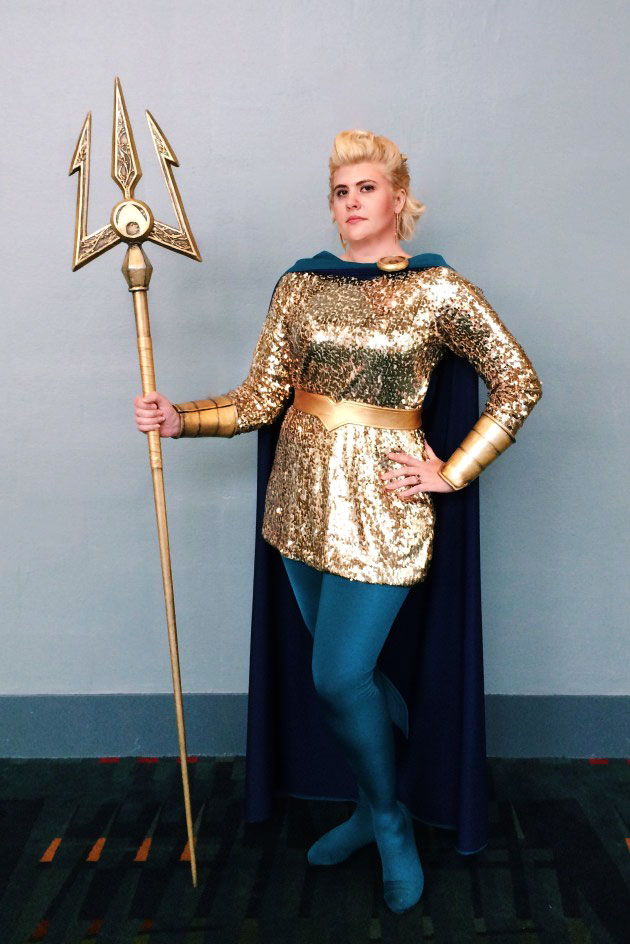
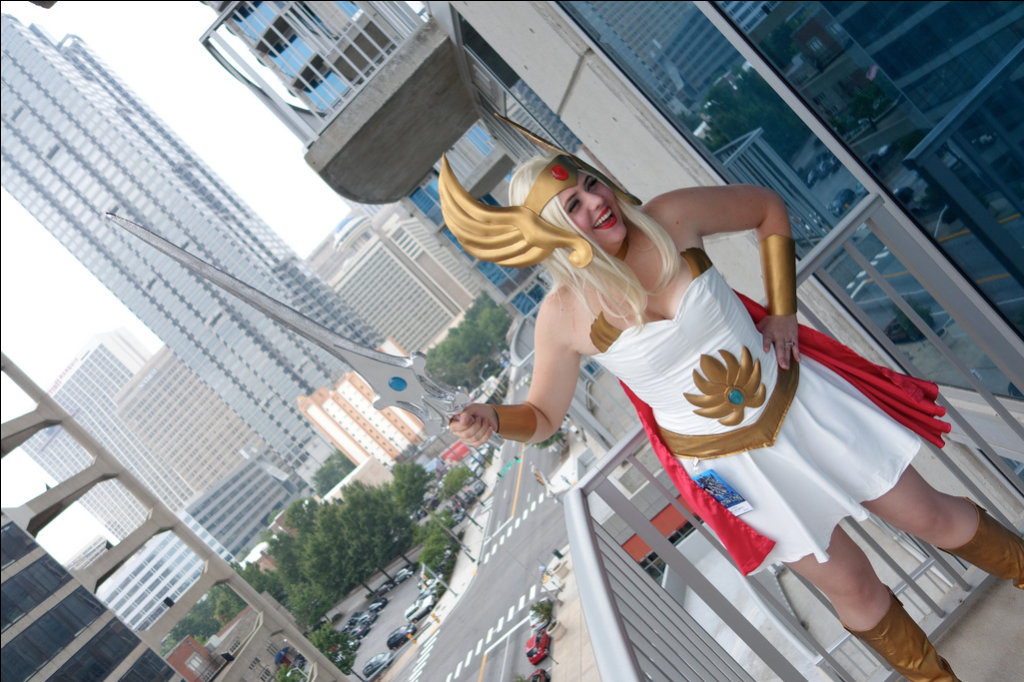
Did I mention I recently finished this gender-bend of Aquaman?
The costume was full of unknowns to me, so it’s my own fear that’s kept me from starting the focal piece of the whole costume: the gold sequin dress. But I was also excited, because I never made a sequin dress before. I was smart and took pictures along the way, so you lovely readers can benefit from my pain and suffering.
Without further ado: Working with sequins.
At the end of the article, I’ll post some of the pages I looked at when researching that are much more positive about working with sequins, with headlines along the lines of Add a little sparkle to your wardrobe.
1- Sequin fabric is EXPENSIVE
So make you have enough in the event of mistakes, but not so much you break the bank. It also makes it daunting to cut into. Not to mention the added fear of sequins falling off. That’s right, you are paying big money for the most fickle fabric known to man (might be an exaggeration). The way sequins are attached to fabric is they are stitched to the background in rows.
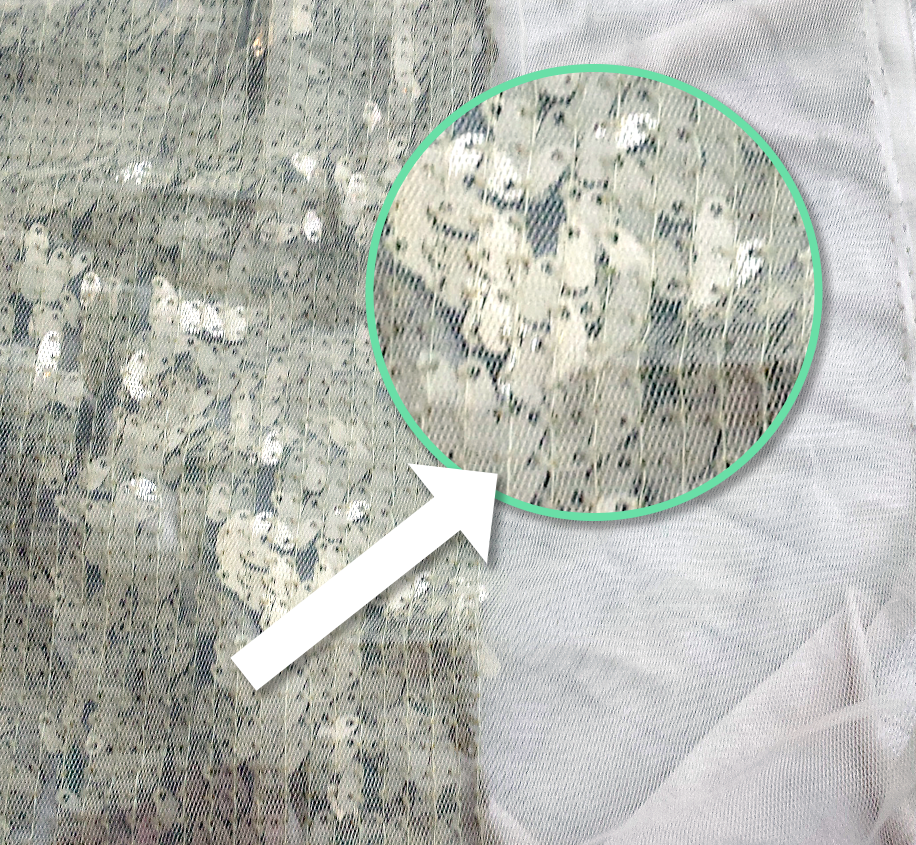
Makes sense, right? Except a loose thread can make you lose a whole line of sequins. WHAT? This will come into play later.
2- Make sure your pattern is simple
Check and check! I mentioned in a previous post I’m using McCalls 7122. It’s really a simple dress, 4 seams total. No zipper.
Why does a simple pattern matter? Because you have to do a lot of prep of the fabric before you sew, so adding in darts or zippers or fancy collars, or even princess seams is a lot of work! I think the nice way the articles put it is “Let the fabric be the focal point.” Most sequin fabric is on a mesh or stretch backing anyway, so you can get away with less shaping.
3- Prepping Sequin fabric takes FOREVER!
I read an article that said, “A sequin dress will take 3 times longer to make than normal, so plan accordingly.” I went “Ok, this dress would normally take me about an hour. 1 x 3 = 3 hours, but I’ll add in a few more hours to be safe, I should be able to get it done in an evening.”
WRONG! So wrong. So very wrong. Just to prep the fabric took me about a week of evenings. If I judge by the anime I was watching when I removed the sequins, it took me close to 13 hours to prep the fabric. 13 HOURS. And that was just to get the fabric ready to sew, then once the dress is assembled, you have to hand sew sequins back on. From here on out I will be keeping track of approximate time spent on this dress so you can estimate your own.

Side note: I watched Red Garden. That anime is beautiful, and I might have to re-watch it because it’s so pretty and I hardly saw any of it because I was staring at sequins the whole time. It’s like Pretty Little Liars (well, the only episodes of seen of it, which is like 2) but with monsters.
4a- Make a mock up
I used stretch mesh for my mock-up since it matched the fabric the sequins were sewn on, and there’s no pictures because that thing was almost fetish worthy in its sheerness. But I learned a lot about my pattern, and took it in a lot.
Time spent: 45 Minutes
4b – Treat your lining like a second mock-up and sew it first.
Oh, and ALWAYS PUT IN A LINING. I called my lining my old lady night-gown because it was made of nude tricot. I used tricot because it has a similar stretch profile as the sequin fabric, and it was silky so it would feel nice against my skin but also not snag on the sequins. I made even more alterations to this lining for fit because I wasn’t getting distracted by my bellybutton like with the mesh one.
Time spent: 45 Minutes
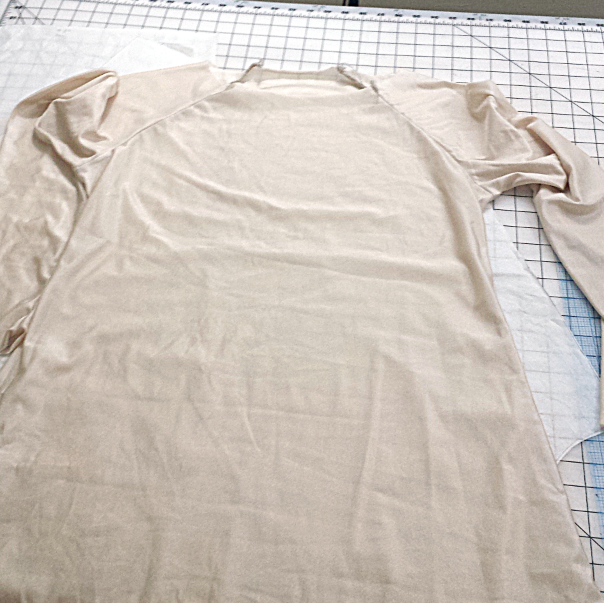
But why is the mock-up important? I realized after all my fittings that the weight of the sequins, and the fabric being a little stretchy made everything hang longer than anticipated, plus I forgot to transfer some of my pattern changes (whoops!). So, I had to go back and remove more sequins everywhere I needed to take it in or shorten it. Just add more time to the sequin clock
Time spent: 2 hours
5- Sequins have a Nap
That means, sequins hang a specific way and shine a specific way. Find out which direction your sequins hang and lay everything out going one direction. I know it can feel like you’re wasting fabric, but you know what really wastes fabric? Having to re-cut a piece because the sequins are “hanging” vertically. Also, some sequins are one color on one side, and a different color on the other, so a piece cut in an opposite direction will really stand out.
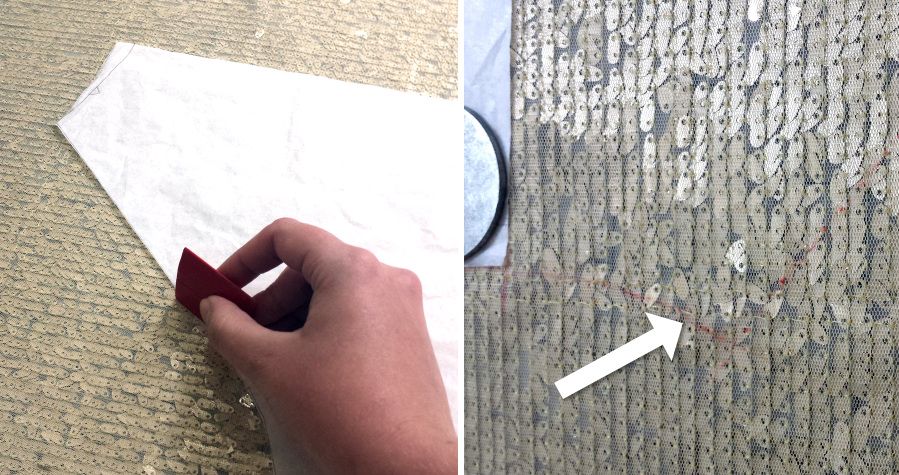
Things to know when cutting out the fabric: Pinning is definitely not something you want to mess with, and cutting on a fold is not recommended. Layout and trace your pattern pieces onto the fabric from the back. I used red tailor’s chalk, then remove the pattern piece and cut along the line.
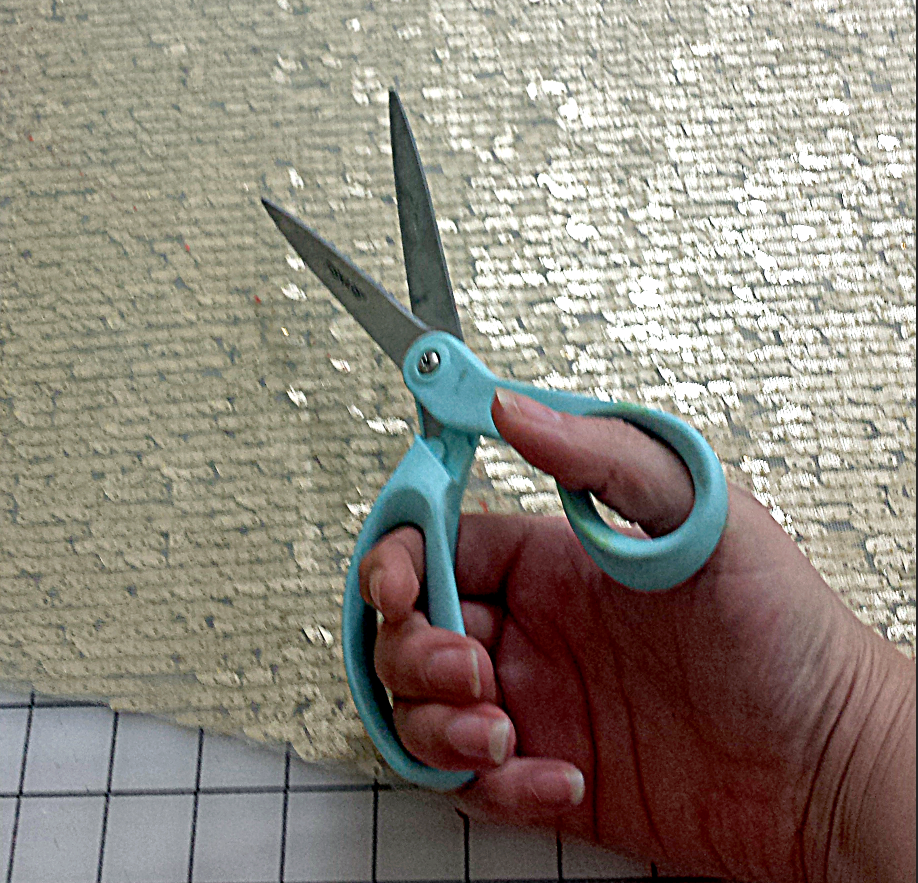
Also, don’t use your good scissors. I used my gift wrap scissors because those sequins will knick and dull your good scissors so fast!
Time Spent: 1 hr
6 – Get ready to live in a disco ball
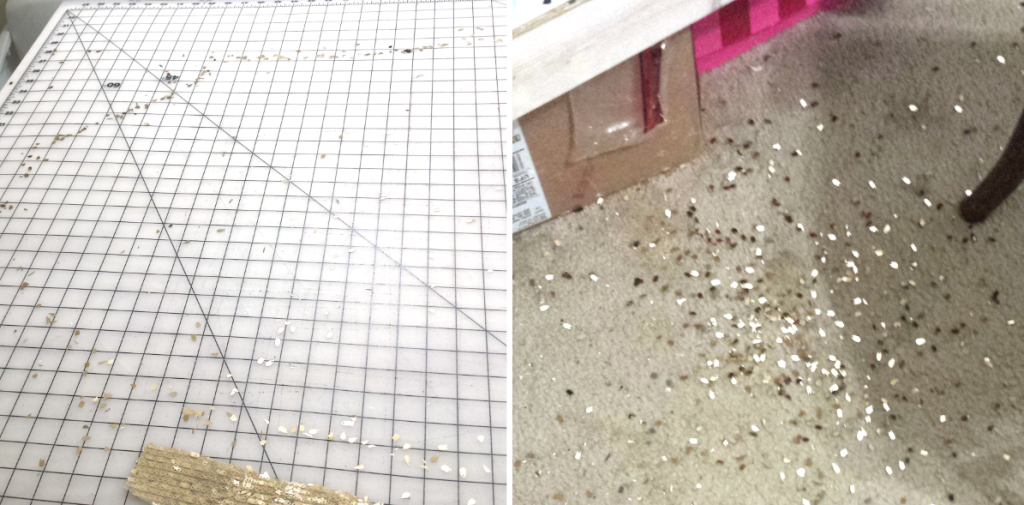
You may see the storm of sequins rolling in just from cutting your fabric, but you are not ready for the tidal wave of sparkles that are about to drown you. I joked with my husband I was like a sparkly Family Circus cartoon, trailing sequins in a path around the house. I also littered the city of Memphis with them, the work conference room, my car, etc. It’s basically giant glitter.
Before you sew, you need to take all the sequins out of the seam allowances. This allows for several things:
• Reduce the risk of sewing machine needle breakage
• Reduces seam bulk
• Not having sequins sticking straight out and jabbing everything if you sew through them.
If you have, like me, kept your sequin fabric folded in the box it shipped in, the sequins will most likely not lay flat at all. I suggest letting gravity help you and hang the fabric vertically for a few hours (I left mine overnight) before trimming the sequins off.
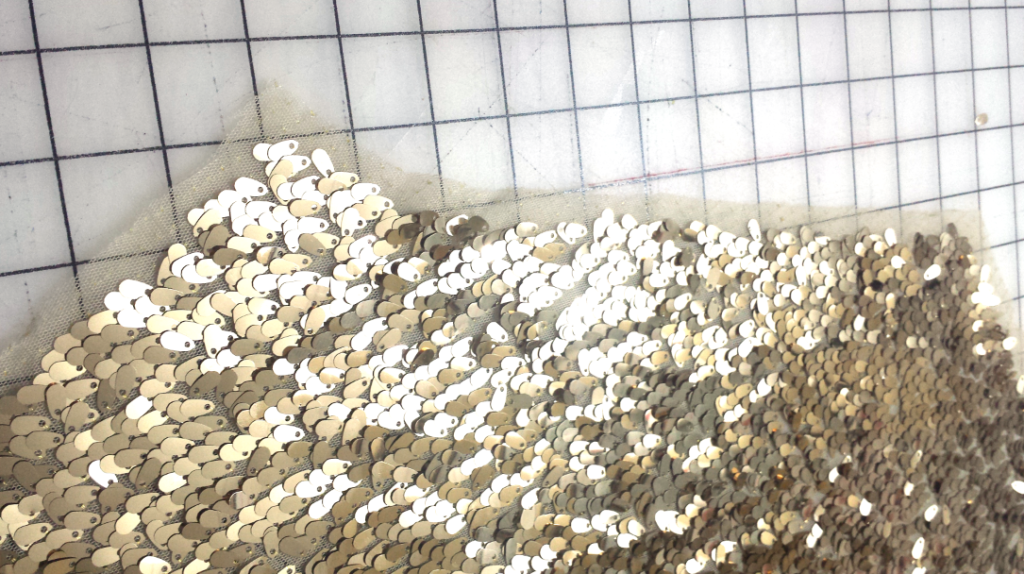
And you’ll want to trim off the sequins. If you use your seam ripper to take them off, most likely you will weaken the already crazy fragile stitching that holds the whole line of sequins together, so grab some small hand scissors that you don’t care about, and start clipping off the sequins.
I found clipping here gave the best and quickest results:
I would also err on the side of removing too many sequins than not enough because sequins move around while you sew and have a life of their own, and a broken needle is how we loose an eye.
Did I mentioned this took forever? This is going to take forever. And I asked around for tips on making it go faster, and found out there isn’t any. Your hands will hurt. Mine were swollen and I broke a blood vessel near my knuckle where the scissors rested.
Also, if I were to do it again, I would only clean up the seams and neck hole, and not the hem. Due to sequin fabric weight, the hem is going to hang much lower than you anticipate, so sew it together first, then remove the sequins at the hem and bottom of sleeves if applicable once you know the proper length.
Time Spent: 13 hours
7- Sewing up the dress is going to seem like a reward from the heavens! But it’s not!
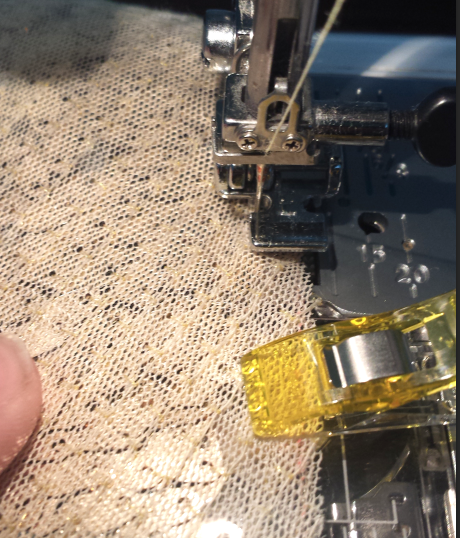
However, the dress should go together quickly, because it’s a simple sewing pattern. I stitched it together and lined it in less than an hour. Also, wear your trusty safety glasses. The chances of you breaking a needle or sequin pieces fling through the air is high. I used a zipper foot so I could get as close as possible to the sequins without having a full foot trying to feed through over the bulk.
I used a stretch stitch on my old battle horse of a Janome because a straight stitch kept puckering and I wanted to maintain as much stretch as possible. The downside? There is no unpicking at that point. The thread is hard to see and the stitches are really small.
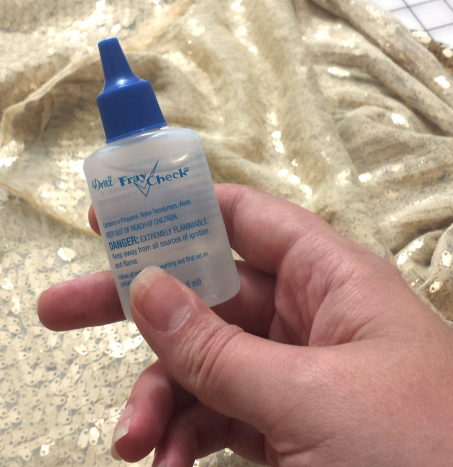
I also fray checked each seam, because I’ll be damned if even 1 row of sequins comes loose! I also installed the lining kind of like a bagged jacket. I attached it at the neck and the ends of the sleeves, but hanging free at the bottom.
DO NOT IRON. It can melt the sequins, degrade their color, or melt your backing fabric. I found the seams didn’t really need it, and you can hand tack them later. If you feel it needs to lie flatter, steam and use a clapper.
Because of stretch in the dress and lining, and because the sequins are so heavy, I stay-stitched my trusty friend; clear elastic, around the neck (no stretching!). This gives it the stability to not get all wonky with weight and stretch. Instead, it will give it the stability to hold up that dress you’ve been working on for a week.
If you’re like me, now you’ll try it on and go “I feel like Zsa Zsa! I’m so glamorous! Maybe those past 13 hours have been worth it!” And for a few moments it does feel like it’s all worth it.

Time Spent sewing: 1 hour
Time spent gawking at sparkles: at least 1/2 hour.
8- Hemming
Just when you thought you were done with sequin removal, it begins again. Once you get everything the length you want it and pinned (if you haven’t already), trim off all the hem sequins and hand hem the bottom. Because it’s all mesh, it’ll look flawless from the outside!
Time Spent: 4 hours
9- Hand sewing sequins: the project that never ends
I hope you saved leftover fabric, because you’ll need it. Now is when you can take advantage of the sequins being attached by one thread and remove a bunch of whole sequins. You may have noticed when you tried your dress on that you can see all the backing fabric at your seams. Now you are going to painstakingly attach sequins over all the bare spots. I also used this opportunity to tack my seams the direction I wanted them, which keeps the seams as flat as possible.
Time Spent: 8 hours (damn those long sleeves)
But guess what, now you’re done! Only about 30 1/2 hours and 3 sewing needles later.
And that is how you make a sequin dress. I suggest buying one from some sweat shop where 5 year olds are clipping sequins off instead of making one. Just kidding! (mostly)
Oh, but you do feel so glam in it. I probably would not make a sequin dress like this again, but I do feel more prepared to take on sequin projects in the very, very, very distant future.
If you have any sequin questions or tips, you know what to do: leave a comment!
Aforementioned Sewing with Sequins articles:
By Hand London – Nerdy sewing tips: Sewing with sequin fabric
Craftsy – Tips for Sewing with Sequins
Burdastyle – Sequin Savvy
Emma One Sock – Beads and Sequins

