Last time I talked a bit about narrowing your costume selection down, and this time I’m going to go into the nitty gritty of planning out the costume. You can do this for all of your costumes first, and then narrow down or you can do it after. If you’re new to making costumes, you might want to do this step first because it will help you figure out all the bits and pieces for each costume and you can evaluate your time, skills, and costs early. This isn’t my first rodeo, so I have a pretty good grasp of what skills I have etc so I’m comfortable estimating that on the front end.
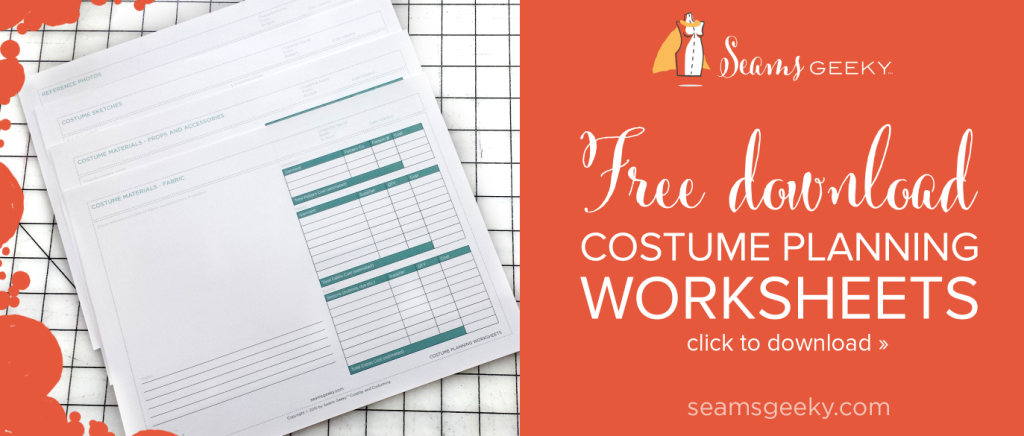
I’m a visual person, so I’ve created some worksheets, you can get these for free (Yes! Free!) These are pretty great because you can 3-hole punch ’em, put them in a binder and keep them for future reference if needed.
Now for the meat and potatoes of today’s post: here’s how I plan out my costumes and use the planning sheets. My examples are digital so they are easier to read, but I do a lot of sketching by hand too.
Aquaman
I’m bookin’ it to squeeze in my Aquaman costume by HeroesCon (a mere 3 weeks away) between some swimsuit commissions and a wedding dress, so planning is crucial!
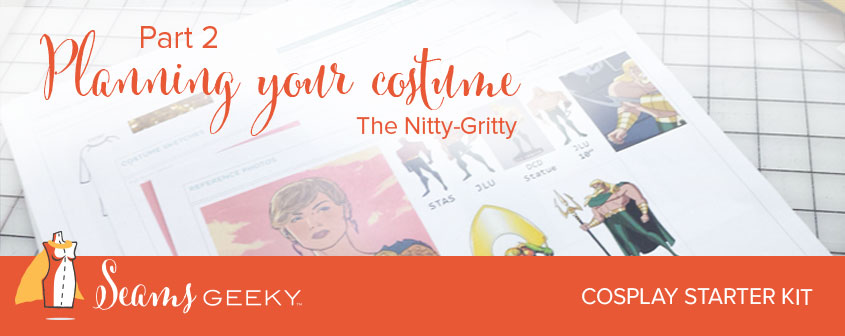
Page 1: Reference Shots
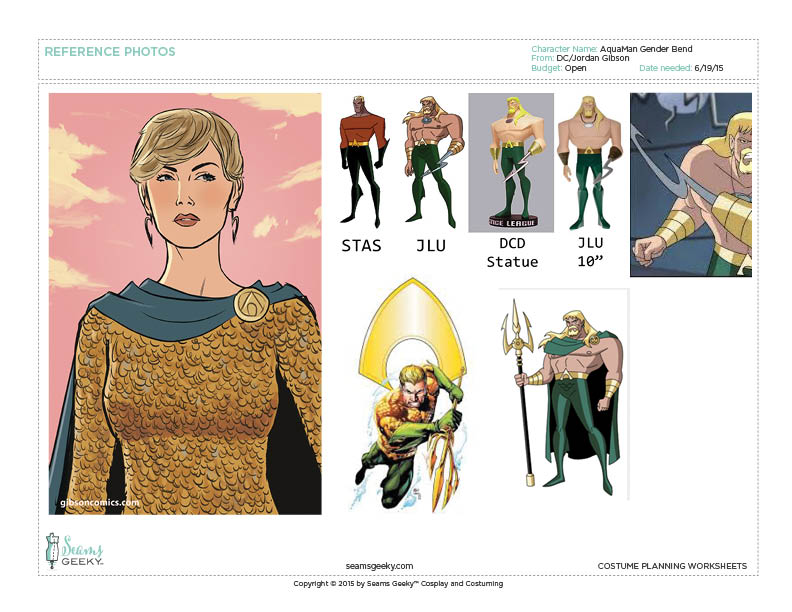
First things first, Grab all the reference pictures you can find. The internet is full of great shots (normally) but you also might need to go straight to the source material and/or sketch stuff out. I usually do both. I was lucky enough to have the artist sketch out the costume details for me (thanks, twitter!). I also grabbed different Aquaman shots for color, shapes, and specifics.
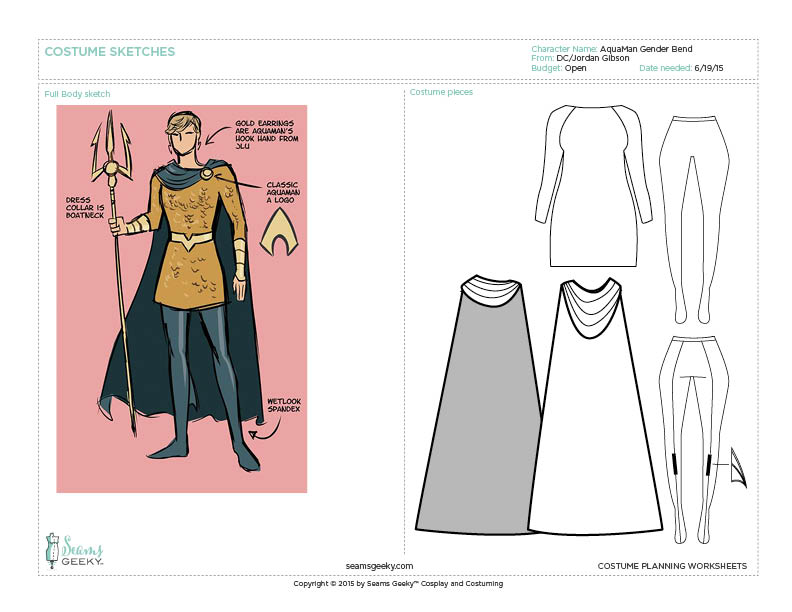
Page 2: Costume sketches
The next bits aren’t too far off of industry fashion line sewing:
I start drawing out all the bits and pieces. ALL OF THEM. Don’t skimp on this stage. The drawings don’t need to be works of art, but need to be clear enough so you know what you’re doing. Draw the front, the back, accessories, shoes. Get it all out there. Not only will this help you figure out everything you need, a lot of time it helps you get your mind around how things need to be constructed, or process you might need to learn.
Page 3: Costume Materials — Fabric
This is a sewing blog of sorts, and I personally hate refashioning, but if you are buying and/or altering ready to wear, you can go looking for pieces that fit what you’re looking for right now. But you might want to stay tuned to this part because it could help you find the pieces you need a little easier.
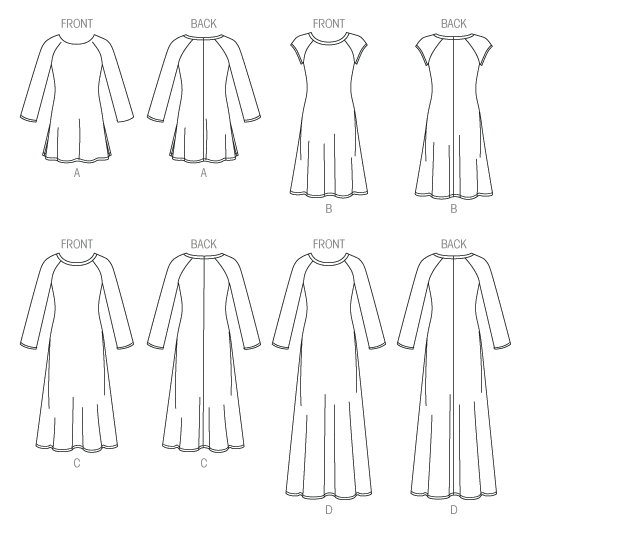
If you are not comfortable drafting your own pattern, now is the time to look for appropriate ones. You have your sketch, and all patterns have technical sketches! This is probably the coolest thing I nerd out about with patterns. It’s so easy to get distracted (or lured in) by how cool the picture looks on the envelope, but we are looking at the black and white line drawing. This shows us the bones of the pattern. I like to do this whether I use a pattern or draft my own because it also helps me estimate the yardage I’ll need of specific fabrics.
I’ll be using McCalls 7122 (view c) for the dress:

I chose this pattern because it doesn’t have a lot of sewn in shaping like darts, and I like the raglan sleeve because it’s less easing I’ll have to do inserting the sleeve, which with sequin fabric that’s pretty pricey and not the easiest thing to work with, seems like a plus. I’ll be making some changes though, I need to raise and lengthen the neckline to make it boat shaped neckline, and take in and shorten the bottom of the skirt as well.
The leggings I’ll be self drafting because it goes over shoes, but this McCalls pattern also has a legging patten I can use if I want. Yippie! I’ll be drafting the cape because it can’t be that hard, right? (This is how I get myself in trouble.)
I then went online and grabbed some swatches, but you can glue or pin on actual fabric swatches here as well. You can order these online or check with your local fabric store, they might give them to you for free!
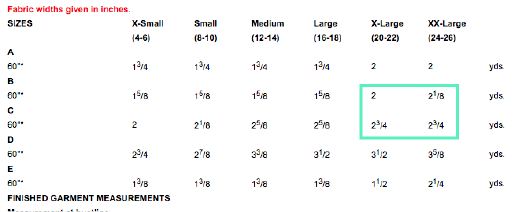
Now that the blueprint has been set, I can work out the costs and keep track of the fabric I need to buy. I know from the pattern envelope I need at least 2 yards of fabric, so I’m rounding up to 3 Just in case. I’m just a round up/play it on the safe side kinda gal.
I’ve never worked with sequins to this capacity before so I want to make sure I have enough in the event of mistakes, and apparently you need extra sequins so I know I’ll be covered. The sequin fabric is somewhat stretchy, based on a power mesh backing so I’ll need a lining as well. I also learned from the internet that you should always line sequin dress because they can be scratchy. I also am utilizing some spandex from my stash for the legging and the cape that’s left over from bridesmaids dresses. I also know I’m using gold stretch pleather for the belt, so I put that down here as well.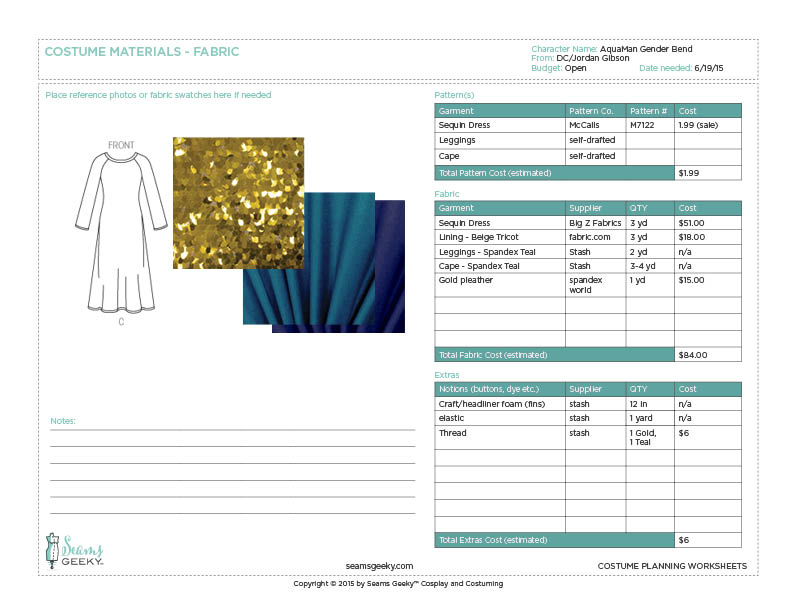
Once my fabric is picked out, I can put down where to buy it (really important incase you need to order more) and the cost. Finally, I try to think of all the notions I’ll need; zippers thread, elastic, etc and put that down. I can now add up all the costs and get an estimate for how much money I’ll be spending on fabric. Yay and boo, all at the same time.
Page 4: Costume Materials — Props and Accessories
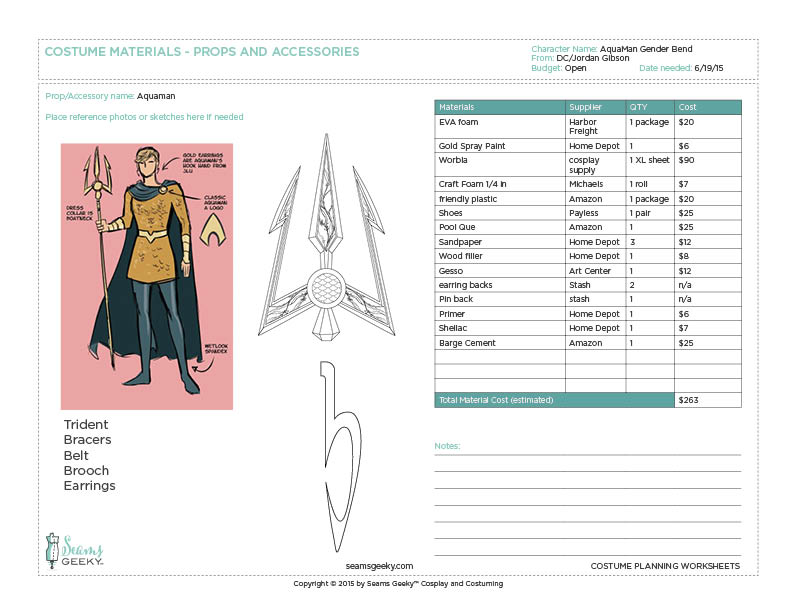
The last page! Or maybe pages, depending on your costume. I use the same process as page 3. I drew out my Trident design in illustrator so I’d have quick reference (I have it actual size elsewhere), a quick side view of the earring, and a list of the other accessories since they are pretty well laid out on the sketch. You might need to do a bit of thinking here to try and wrestle out how exactly you plan on making all your prop pieces so you accurately choose your materials.
I crammed all mine on page because there isn’t a lot of detailed pieces, but you might want several pages with deeply outlined materials and budget costs for each accessory piece.
I listed and sketched out the accessories I’ll need to the side and just added all the costs together. You can see I tried to list every darn thing I could think of that I’d need to make everything. You can put wig costs, shoe costs, plus base materials here.
Then add up your costs from page 3 and page 4. Maybe scream, maybe cry, maybe get really excited because it will cost less than you think. Whatever your reaction, you’re ready to start making!
Next time I’ll be talking a bit about different kinds of fabrics for those unsure about what fabrics to choose.
*While writing this post I found a phone app called Cosplanner which you can track all your costuming planning the same way digitally. It’s pretty cool! But I like having the sheets to reference because they are bigger and I can take notes and draw on them. But I’m an old fuddy duddy that’s stuck in my analog ways.

